4 Solutions To Simplify Cleaning Your Fryer
Do you want to simplify cleaning your fryer? The fryer is a very useful small appliance to make our fries spectacular. French fries, fried chicken and all the breaded recipes are just perfect.
There are home and industrial fryers, which are also used in bars and restaurants. But this great ally of the kitchen has a problem: it accumulates a lot of grease and cleaning it is not an easy task.
However, it is essential to clean the fryer regularly, not only to make the appliance work better and last longer, but also to protect our health. Discover 4 methods that will be of great help.
Solutions to simplify cleaning your fryer
1. Wash the fryer basket
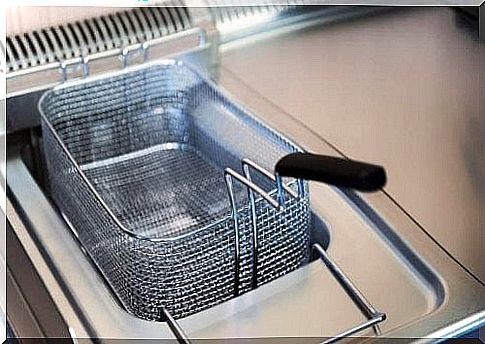
The fryer basket is one of the easiest parts to wash as it can be easily removed and even, in most cases, put in the dishwasher.
- To wash this accessory, you can also use hot water and dish soap. It is advisable to use a sponge or a brush to remove all the adhered fat.
- If the fryer basket is very dirty, you can leave it submerged for a few hours in a container with very hot water and degreasing detergent. Once the grease has come loose then it is possible to clean easily.
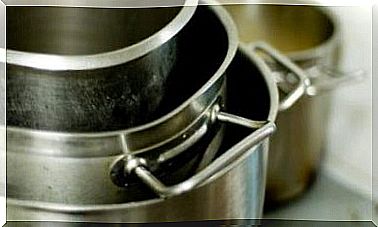
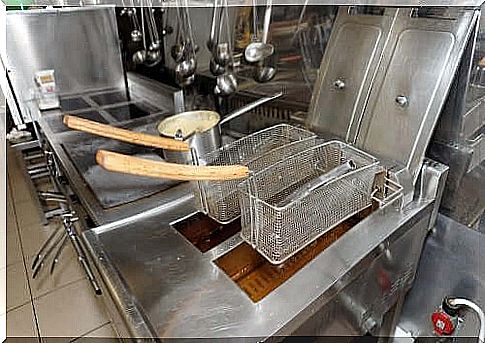
2. Wash the inside of the fryer
- There is a very useful trick for cleaning the inside of the fryer. It involves using a plastic spatula to remove all the fat that has stuck to it. That way we won’t leave any streaks and later cleaning will be much easier.
- The second step will be to wash the inside of the fryer. For this, there are several options. One of them is to fill it with water and degreaser. You should bring this mixture up to the level where oil is normally placed and turn on the fryer so that it boils for a few minutes.
- Another possibility is to boil water with detergent in a pan and then transfer it to the fryer. In either case, it is necessary to let the water rest for a few minutes or even an hour until the fat is released.
- Once this time has elapsed, it is possible to drain the water and refill the fryer with clean, degreasing water.
- You can then clean with a brush to remove any dirt that may have remained and rinse, filling it one last time with water. Finally, remove all the water and dry it well with a clean cloth.
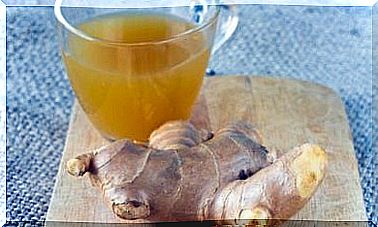
Vinegar and baking: two great allies for cleaning your fryer
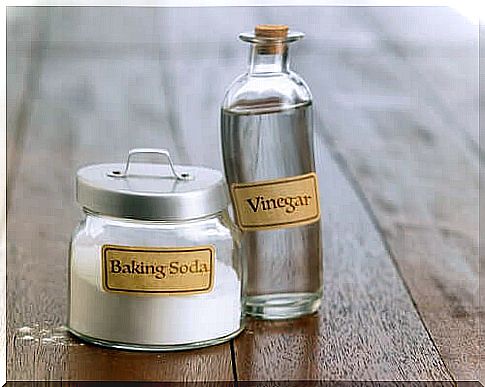
Vinegar is another great ally for cleaning fryers. The procedure is simple. You should fill the fryer with a cup of vinegar and water. Then cover with the lid and turn on the fryer until the mixture boils. Simmer for approximately ten minutes or more if heavily soiled.
Afterwards, remove all the water and remove the remaining grease with the help of a clean, soft cloth. Finally, rinse with plenty of water and dry well with a clean, dry cloth.
Baking soda also works very well when it comes to removing the fat from inside the fryer. For this, you must make a paste by mixing the baking soda with water, and apply it to the dirtiest areas. Then scrub with a soft toothbrush and, to finish, rinse with water and dry with a clean cloth.
How to clean the outside of the fryer
To clean the outside of the fryer, you can use a sponge, hot water and dish soap or some mild degreasing detergent. However, it is very important to read the manufacturer’s instructions carefully, as each one is different.
Some parts can be wet and others not, so it is essential to identify them before proceeding with the exterior cleaning of the fryer . As with every appliance cleaning operation, safety is always the most important.